> For the complete documentation index, see [llms.txt](https://developer.opzeknd.xyz/llms.txt). Markdown versions of documentation pages are available by appending `.md` to page URLs; this page is available as [Markdown](https://developer.opzeknd.xyz/start-here/deploying-to-basechain.md).
# Deploying to Basechain
### First Steps with the Developer Dashboard
This page shows you how to deploy your first smart contract to Basechain. Note that you only need to do this once you go live, and it costs 1400 zeknd a year to deploy to Basechain.
First, head over to our Developer Dashboard. We offer several different ways in which you can connect and sign transactions:
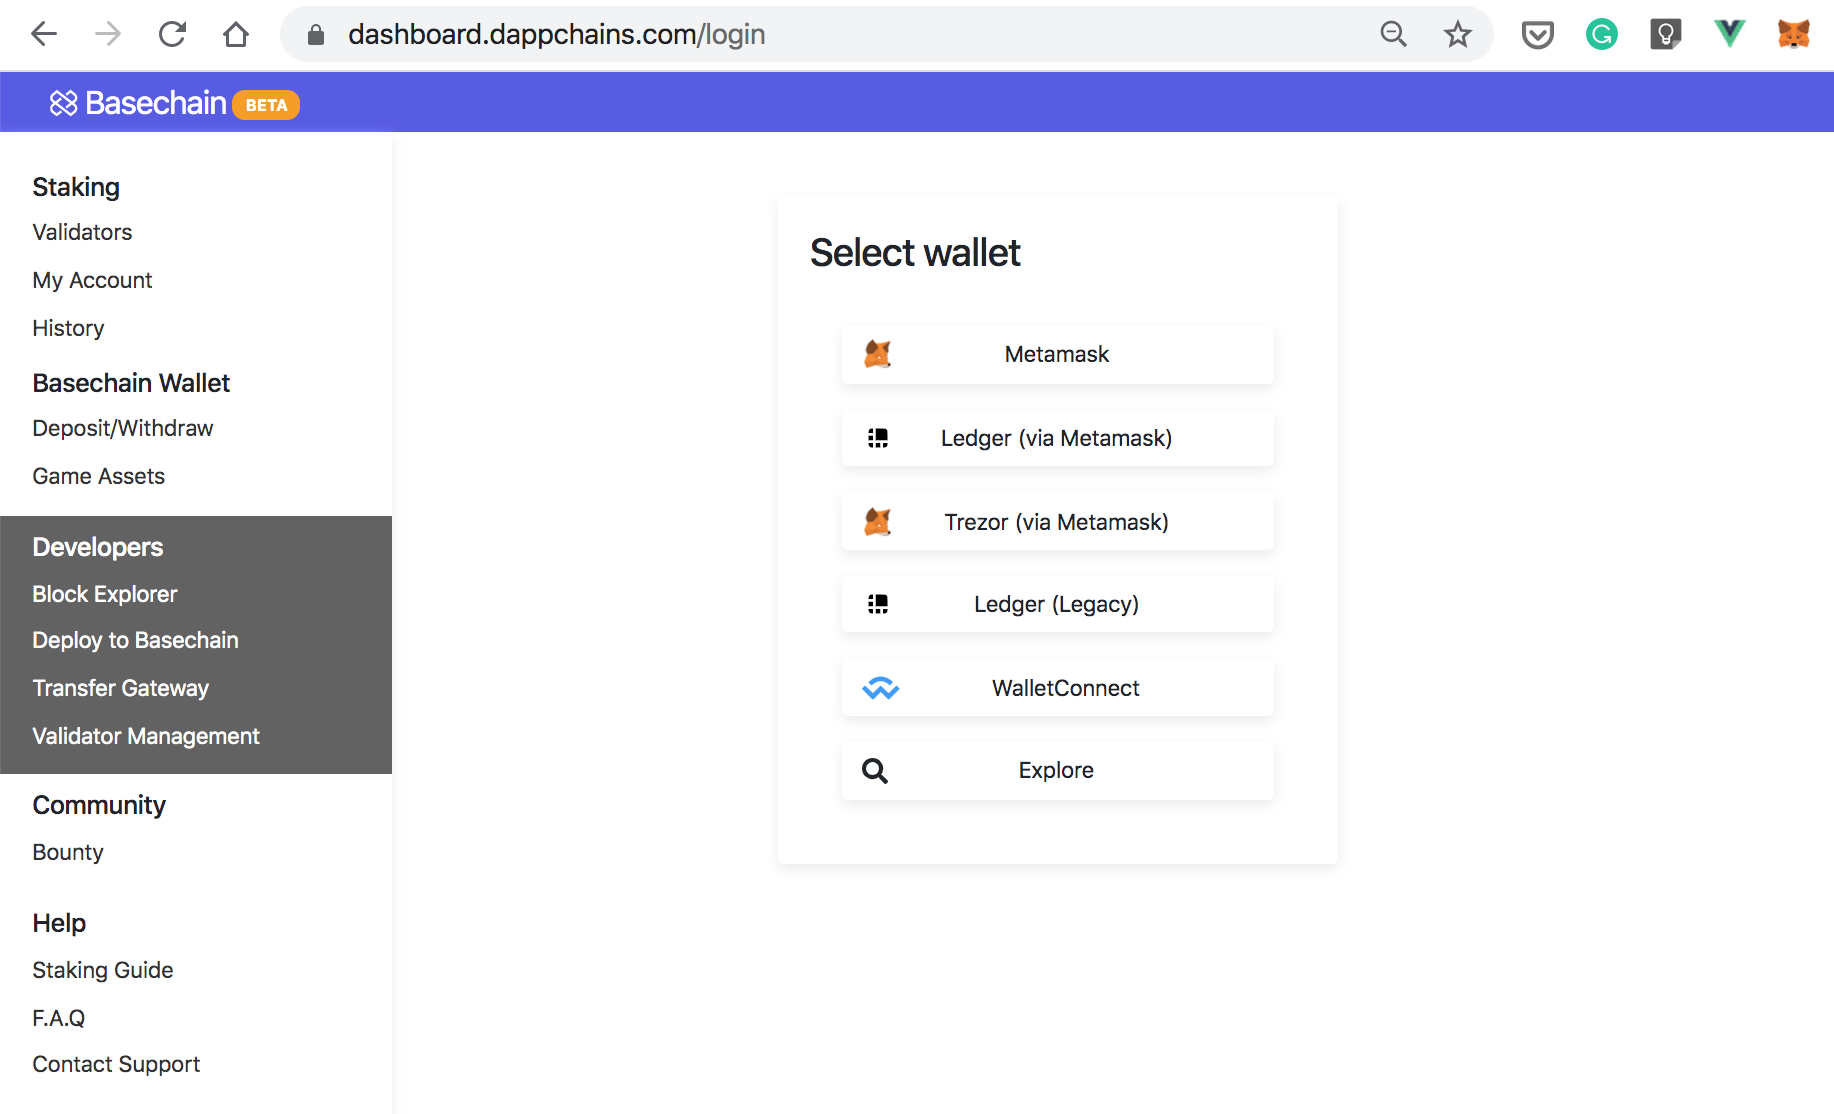
Say you choose to use Matamask. Once you've selected this option, you'll see a Metamask popup like this:
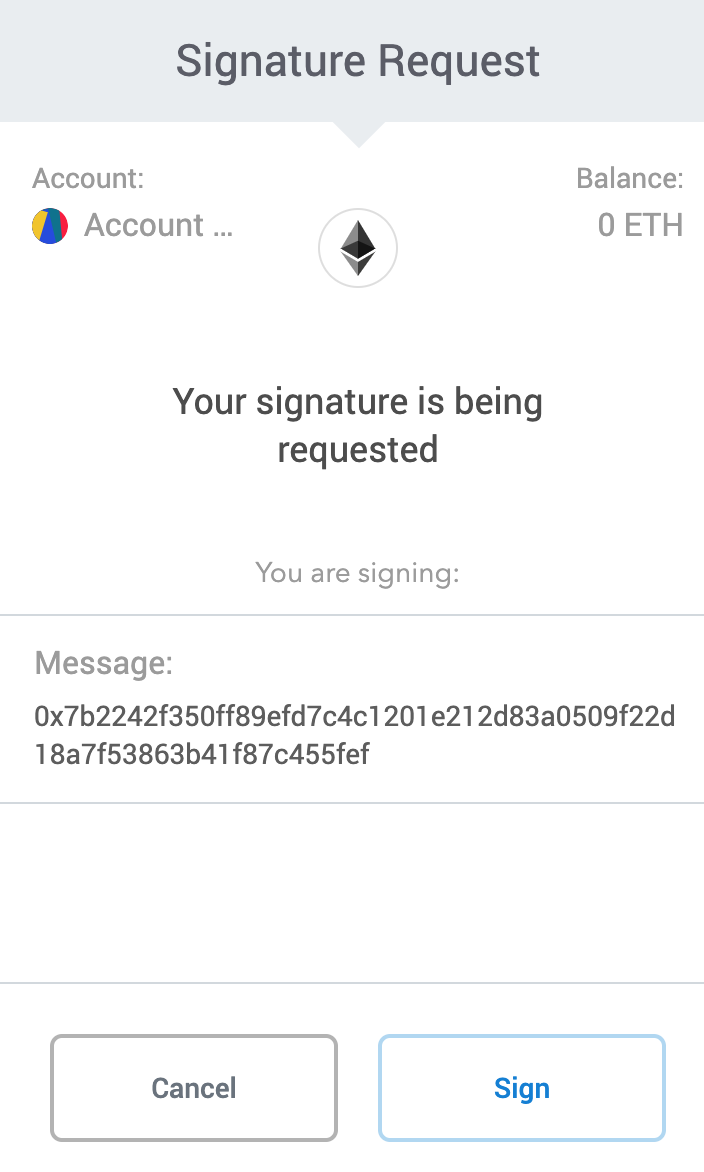
Click "Sign" and, under the hood, the dashboard will map your accounts. Next, you will be redirected to your dashboard. It'll look similar to this:
### #Deposit zeknd to Basechain
From the left pane, click on the "Deploy to Basechain". You will be redirected to a page similar to the one below:
Notice that, in order to deploy to Basechain, you need to pay 1400 zeknd. Click on the "Deposit more zeknd to Basechain" and follow the instructions.
### #Adding the Public Keys
From here you have two options. You either create a new account, or you use an existing address:
Let's explore both a bit further.
**#Option 1 - Creating a New Account**
Say you clicked "Generate New Key". Next, a new window will pop showing the details of the new account:
We can't emphasize this more: **store the mnemonic somewhere safe**.
Next, copy the public address and paste it into the "Your zeknd Public Address" textbox:
Lastly, click "Add Key" and you're set.
**#Option 2 - Use an Existing Address**
Now, as an example, let's suppose you already have a zeknd address. If so, all you have to do is to paste it into the "Your zeknd Public Address".
Next, click "Add Key" and you're ready to deploy to Basechain.
### #Deploying to Basechain
If in the previous step, you chose to use an existing address, save your private key to a file called `mainnet_private_key`. If you chose to generate a new address, paste your mnemonic into a file called `mainnet_mnemonic`.
Here's what you have to do next:
* Fire up your favorite text editor and open `truffle-config.js`
* Start by importing a few things:
```
const zekndTruffleProvider = require('zeknd-truffle-provider')
const { sha256 } = require ('js-sha256')
const { CryptoUtils } = require ('zeknd-js')
const { mnemonicToSeedSync } = require ('bip39')
const fs = require('fs')
const PrivateKeyProvider = require("truffle-privatekey-provider")
```
* If you're using an existing private key, you can instantiate a new zeknd`Provider` as follows:
```
function getzekndProviderWithPrivateKey (privateKeyPath, chainId, writeUrl, readUrl) {
const privateKey = readFileSync(privateKeyPath, 'utf-8')
return new zekndTruffleProvider(chainId, writeUrl, readUrl, privateKey)
}
```
* If you're using a newly generated mnemonic, the code would look a bit different:
```
function getzekndProviderWithMnemonic (mnemonicPath, chainId, writeUrl, readUrl) {
const mnemonic = readFileSync(mnemonicPath, 'utf-8').toString().trim()
const seed = mnemonicToSeedSync(mnemonic)
const privateKeyUint8ArrayFromSeed = CryptoUtils.generatePrivateKeyFromSeed(new Uint8Array(sha256.array(seed)))
const privateKeyB64 = CryptoUtils.Uint8ArrayToB64(privateKeyUint8ArrayFromSeed)
return new zekndTruffleProvider(chainId, writeUrl, readUrl, privateKeyB64)
}
```
Wrapping it up, your `truffle-config.js` file should look something like this:
```
const zekndTruffleProvider = require('zeknd-truffle-provider')
const { sha256 } = require ('js-sha256')
const { CryptoUtils } = require ('zeknd-js')
const { mnemonicToSeedSync } = require ('bip39')
const fs = require('fs')
const PrivateKeyProvider = require("truffle-privatekey-provider")
function getzekndProviderWithPrivateKey (privateKeyPath, chainId, writeUrl, readUrl) {
const privateKey = readFileSync(privateKeyPath, 'utf-8')
return new zekndTruffleProvider(chainId, writeUrl, readUrl, privateKey)
}
function getzekndProviderWithMnemonic (mnemonicPath, chainId, writeUrl, readUrl) {
const mnemonic = readFileSync(mnemonicPath, 'utf-8').toString().trim()
const seed = mnemonicToSeedSync(mnemonic)
const privateKeyUint8ArrayFromSeed = CryptoUtils.generatePrivateKeyFromSeed(new Uint8Array(sha256.array(seed)))
const privateKeyB64 = CryptoUtils.Uint8ArrayToB64(privateKeyUint8ArrayFromSeed)
return new zekndTruffleProvider(chainId, writeUrl, readUrl, privateKeyB64)
}
module.exports = {
networks: {
zeknd_mainnet: {
provider: function () {
const chainId = 'default'
const writeUrl = 'http://basechain.dappchains.com/rpc'
const readUrl = 'http://basechain.dappchains.com/query'
const mnemonicPath = path.join(__dirname, 'mainnet_mnemonic')
const privateKeyPath = path.join(__dirname, 'mainnet_private_key')
if (fs.existsSync(privateKeyPath)) {
const zekndTruffleProvider = getzekndProviderWithPrivateKey(privateKeyPath, chainId, writeUrl, readUrl)
return zekndTruffleProvider
} else if (fs.existsSync(mnemonicPath)) {
const zekndTruffleProvider = getzekndProviderWithMnemonic(mnemonicPath, chainId, writeUrl, readUrl)
return zekndTruffleProvider
}
},
network_id: '*'
},
}
}
```
Well done!👏🏻👏🏻👏🏻
You are now ready to deploy your first smart contract to Basechain!
In order to get a better feel for it, check out our truffle-dappchain-example.